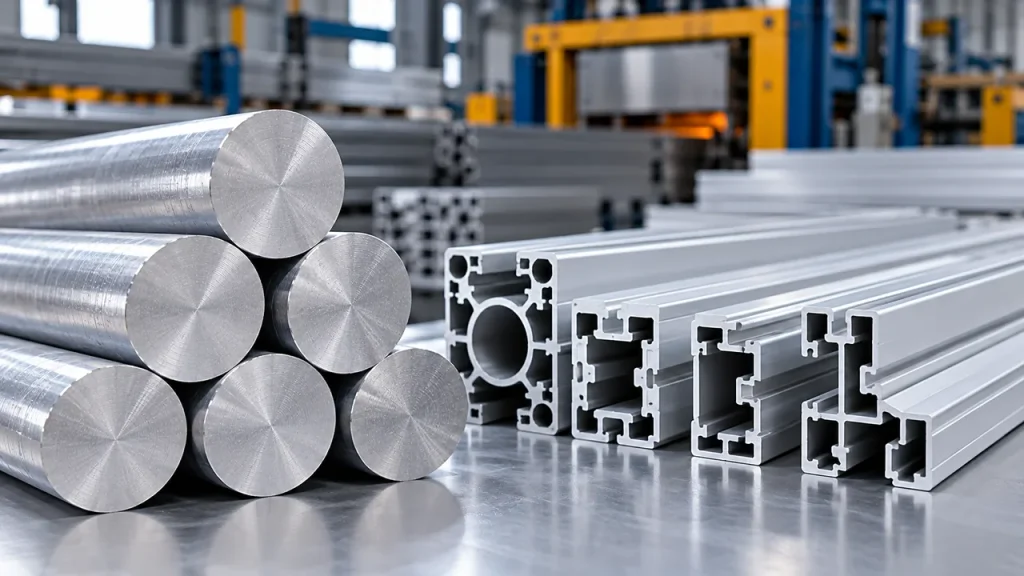
Aluminum extrusion profiles have become the default framing material for machine bases, workstations, machine guards, 3D printers, and small automation cells. The appeal is easy to see: a T-slot profile is a structural beam and a fastening system in one part, so you can build a frame without welding, painting, or special tooling. The weak point in most builds is not the profile itself but the joint. Pick the wrong connector, and a frame that looked fine on paper will rack under load, cost more than the profiles did, or seal off the slots you need for panels and cables later. Preparation matters as much as hardware, and it starts before assembly—if you are ordering cut lengths, it is worth reading up on how to cut aluminum extrusion so the joint faces arrive square.
Most builders connect aluminum extrusions in one of four ways: external corner brackets for fast 90-degree joints, internal screw connections machined into the profile ends for clean and strong joints, parallel connectors that join two profiles side by side into a wider beam, and interlocking or snap-fit profiles that slide together without separate fasteners. The right choice depends on four things: how strong the joint must be, whether you can drill and tap the profile, whether the slot needs to stay open for panels later, and how much you want to spend.
The rest of this guide explains how each method works, what it costs, and where it fits.
What Are Aluminum Extrusion Profiles?
An aluminum extrusion profile is a length of aluminum pushed through a shaped die, so the entire piece carries the same cross-section from end to end. T-slot profiles are the version used for modular framing: their surface carries one or more open slots with an internal T-shaped channel that runs the full length of the beam.
The manufacturing route is the same one used across the industry. A heated aluminum billet is forced through a die under pressure, a process The Aluminum Association describes in its overview of aluminum processing that the die design, alloy, and process temperatures give designers near-limitless control over the final shape. For framing, that shape is engineered around the slot, because the slot is what makes every joint possible.
Common framing profiles range from small 20 x 20 mm sections up through 40 x 40 mm and heavier industrial series. An extruded aluminum rail of this type appears in machine frames, linear motion setups, guarding, shelving, and display structures. What is aluminum extrusion used for beyond framing? Window and door systems, heat sinks, automotive components, and countless consumer products—but the modular framing market is where the connecting question comes up daily.
Why the T-Slot Makes Joining Possible
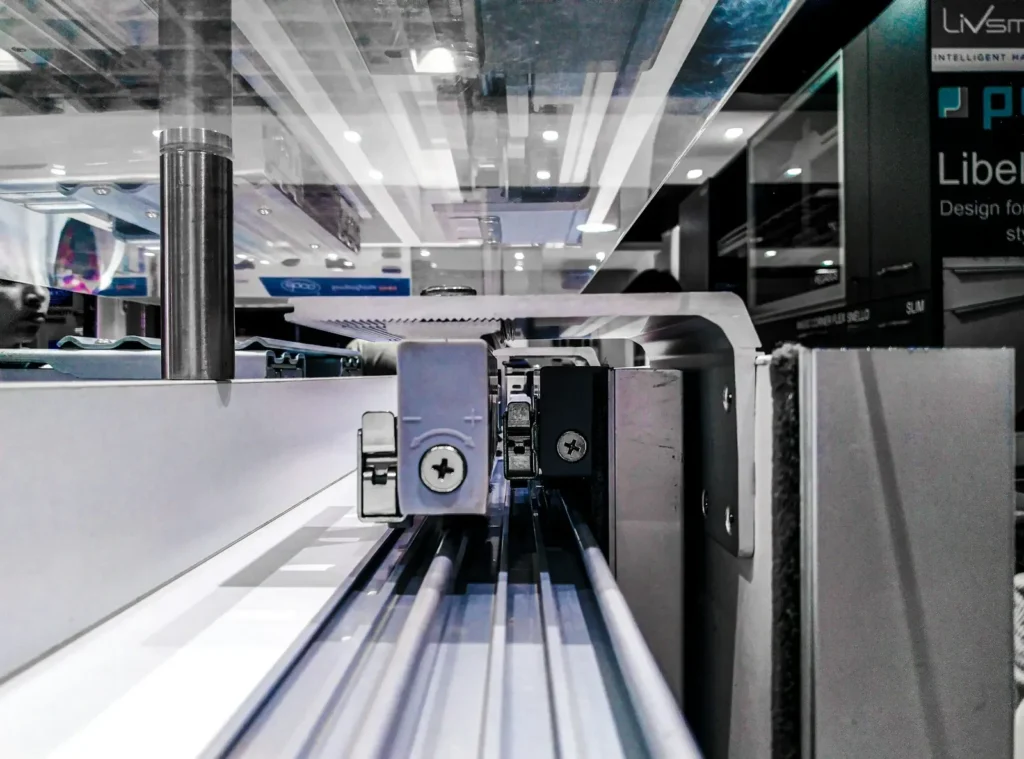
The slot is essentially a linear nut race. Its internal channel is narrower at the opening than at the base, so a special T-nut or hammer-head nut drops in and can slide along the profile but cannot pull out through the mouth. Every connector—bracket, plate, or panel holder—is ultimately just a bolt pressing against one of these nuts.
This design gives you two options at every joint: fasten something to the outside of the slot or hide a fastener inside the profile. That choice drives the four methods below.
Four Common Ways to Connect Aluminum Extrusions
Almost every joint in a modular frame uses one of four methods: external corner connections, internal screw connections, side-by-side connections, and interlocking designs. They differ in strength, appearance, machining requirements, and cost, and most real frames mix two or three of them.
Corner Connections at 90 Degrees
The most common joint in any frame is a right angle, and the fastest way to make one is an external corner bracket or gusset plate. The bracket sits across the outside of the joint; its tabs or pilots seat into the slots, and bolts clamp it to T-nuts inside each profile. No drilling or tapping is needed, and installation takes minutes with a hex key.
The trade-offs are visibility and slot access. The hardware sits proud of the surface, which some builds find acceptable and others find unacceptable on exposed frames. Each bracket also covers part of the slot at the joint, which can block panels or covers you planned to slide in later. For utility frames, guarding, and anything internal, corner brackets remain the default choice.
Internal Screw Connections
For a clean, strong, invisible joint, you can fasten profile to profile directly. The standard approach is a butt joint with a central screw: the center bore of one profile is tapped, a socket head cap screw threads into it, and the screw passes through an access hole drilled in the side of the mating profile so you can reach and tighten it. Cut faces must meet squarely for this to work—an uneven cut leaves a gap that no amount of tightening will close.
A second family of internal connectors goes further. Hidden or drop-in connectors sit inside the profiles at the corner and pull the joint tight from within, leaving no external hardware at all. These need accurately drilled and sometimes counterbored holes, so they suit builders with a drill press or a supplier who offers machining.
Internal connections are the strongest of the four methods and the best looking, but they are the slowest to install and the hardest to undo, since some fasteners sit deep inside the structure.
Connecting Extrusions Side by Side
Frames often need a beam wider or stiffer than a single profile, which raises the question of how to connect aluminum extrusions side by side. A parallel connector does exactly this: it is a bar or plate that bridges two profiles laid flush against each other, bolted into the T-slots of both so the pair acts as one beam.
The practical points are alignment and slot sharing. The profiles must sit perfectly flush or the pair will twist under load, so most builders clamp them to a flat surface while tightening. Doubling two small profiles this way is a well-known way to gain stiffness without moving to a heavier series, and it keeps the standard slot geometry available on the outer faces for panels and hardware. Where the load is mainly bending rather than torsion, a set of parallel connectors spaced along the beam is usually all you need.
Interlocking and Snap-Fit Connections
Some profile families interlock by design: one profile carries a male feature and its partner carries a matching female feature, and the two slide together along their full length. The natural flex of the aluminum provides the clamping force, so no separate fasteners are needed at the joint. Interlocking aluminum extrusions go together in seconds and hide the joint completely.
The limits are worth knowing before you commit. The connection slides its entire length, which makes it awkward in tight spaces or mid-assembly. Snap-fit designs with barbs can be effectively permanent, since there is no reverse chamfer to release them. And because the joint relies on friction rather than bolts, it suits enclosures, covers, and lighter structures better than heavily loaded machine frames.
How to Join an Aluminum Frame Step by Step
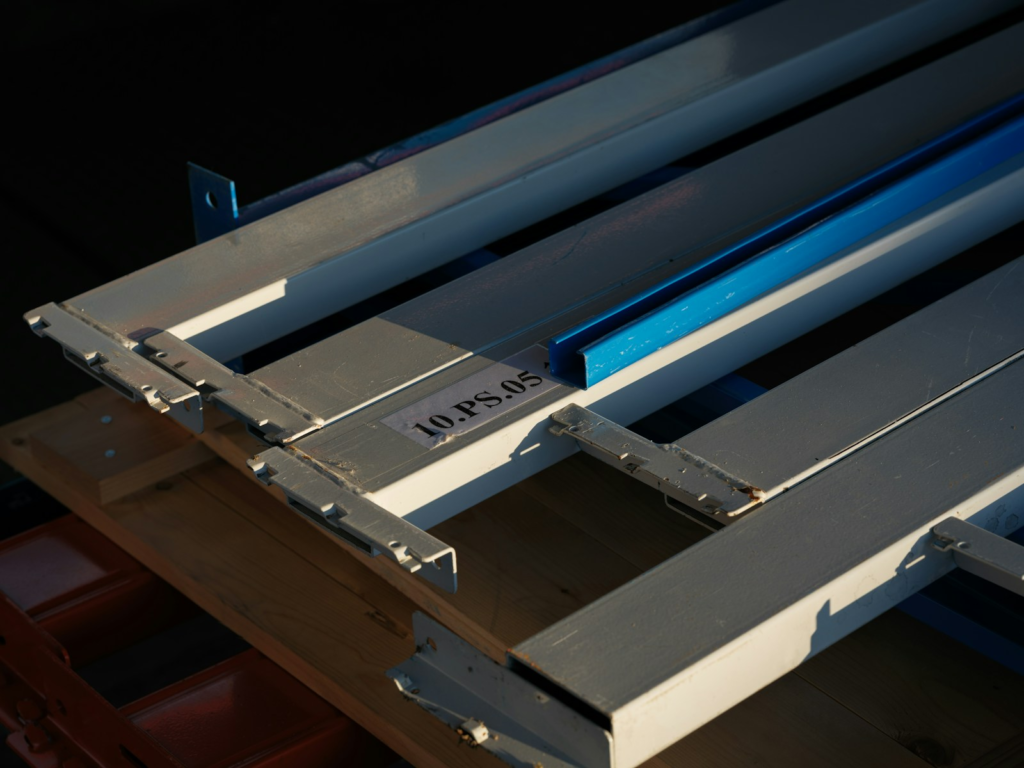
Joining an aluminum frame is a repeatable process, and the order of operations matters more than any single tool. Since these frames end up in everything from guarding to workstations—the range of aluminum extrusion applications is broad—the steps below assume a typical four-post or rectangular frame.
- Plan the joints before buying anything. Mark every corner and splice, and decide for each one whether the slot must stay open later for panels, cables, or covers. This decides where you can use brackets and where you need internal connections.
- Cut the profiles square. Every face-to-face joint depends on square cut ends. Use a mitre saw with a non-ferrous blade, deburr the faces, and check them against a machinist square. A gap at one corner propagates down the whole frame.
- Pre-load the T-nuts. Slide or drop the nuts into the slots at each joint position before you bring profiles together. Doing this first is far easier than fishing nuts into a closed corner.
- Loosely assemble the whole frame. Fit every connector with bolts only finger tight. A frame assembled loosely can still be squared; a frame tightened joint by joint cannot.
- Square the frame. Check diagonals across each face and adjust until the measurements match, then confirm the structure sits flat without rocking.
- Tighten evenly, working around the frame. Snug each bolt in a criss-cross pattern rather than torquing one joint fully at a time, which pulls the frame out of square.
- Add reinforcement where loads demand it. Long spans, heavy tops, or vibration call for extra gussets, joining plates, or a second fastener per joint.
Comparing Strength, Cost, and Appearance
The four methods trade strength against speed, appearance, and price in predictable ways.
| Method | Strength | Machining needed | Slot access after | Appearance | Relative cost |
|---|---|---|---|---|---|
| External corner bracket | Moderate to high | None | Partly blocked at joint | Visible hardware | Low |
| Internal screw connection | Highest | Drill and tap | Slots stay open. | Invisible | Low hardware, higher labor |
| Parallel connector | High (adds stiffness) | Usually none | Open on outer faces | Visible | Low to moderate |
| Interlocking / snap-fit | Light to moderate | None | Fully open | Invisible | None too low |
Cost is where builders get surprised. The aluminum extrusion price of the profiles is only part of the budget: connector hardware often costs more per joint than a meter of profile, especially small cast brackets on compact frames. The budget-conscious route is the internal butt-joint screw—one tapped hole and one bolt per corner, with no bracket hardware at all—which is why it is popular on machine frames where the joints stay hidden anyway.
One practical option for first-time builders is an aluminum extrusion kit, which bundles profiles with the matching brackets, T-nuts, and fasteners for a specific design. Kits cost more per part than sourcing separately, but they remove the guesswork from connector selection and guarantee the hardware matches the slot series.
Common Mistakes to Avoid
Most joint failures trace back to preparation rather than hardware, and the same handful of errors shows up again and again.
Welding is the first one. Aluminum extrusions can be welded, but doing so destroys the temper around the joint, distorts the profile, and eliminates the disassembly that justifies the framing system in the first place. The second is assembling over uneven cut faces; a gap of even half a millimeter lets the joint flex, and no connector clamps a gap shut. The third is blocking slots you will need later—a bracket bolted over a slot today can force a full rebuild when the panel or cable duct arrives. Finally, avoid relying on a single fastener in a small cross-section to carry a bending load; small profiles joined at one point can rotate slightly under torque, so add a second fastener, a gusset, or step up to a larger series.

FAQ
Can an aluminum extrusion frame be taken apart and rebuilt?
Yes, and that is one of the main reasons to choose this material. Bolted connections, including corner brackets and parallel connectors, come apart with a hex key and can be reassembled in a new layout. Internal screw connections are also removable through their access holes, though it takes longer. Two things make a joint effectively permanent: threadlockers applied to the bolts and adhesive bonding, so skip both on any frame you expect to modify.
Do I need to drill and tap the profiles to connect them?
Only for certain methods. External brackets, parallel connectors, and interlocking profiles need nothing beyond a hex key. Internal screw connections need a tapped center bore and an access hole, and hidden connectors need accurately positioned drilled holes, which means a drill press or a supplier machining service. If you have no machining capability, plan the whole frame around external hardware and design the look accordingly.
How strong is a bolted extrusion frame compared with a welded steel frame?
For most light and medium duties, a well-built extrusion frame is rigid enough and far easier to modify. Welded steel wins on ultimate rigidity and cost for very large or high-vibration structures, but it cannot be adjusted after fabrication. A practical middle path is a heavier extrusion series with internal screw connections, which approaches welded stiffness while keeping the frame reconfigurable.