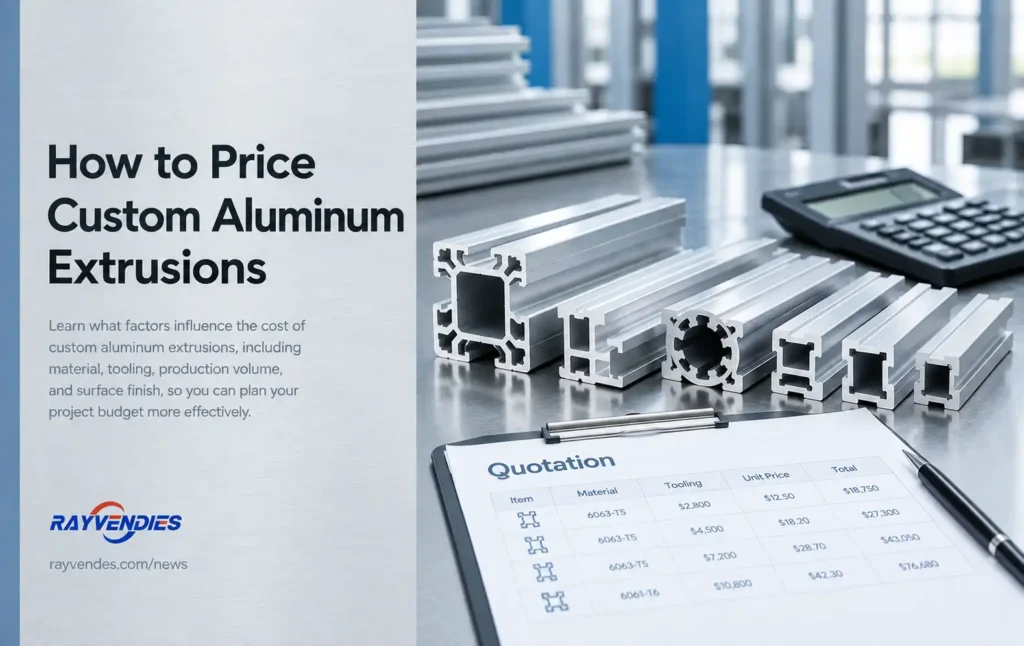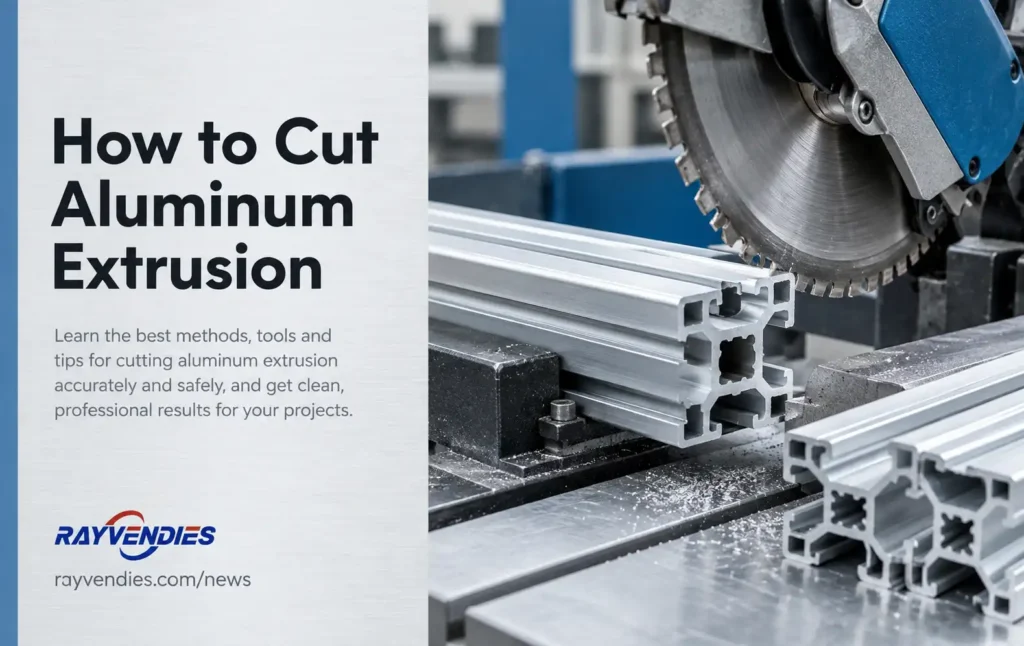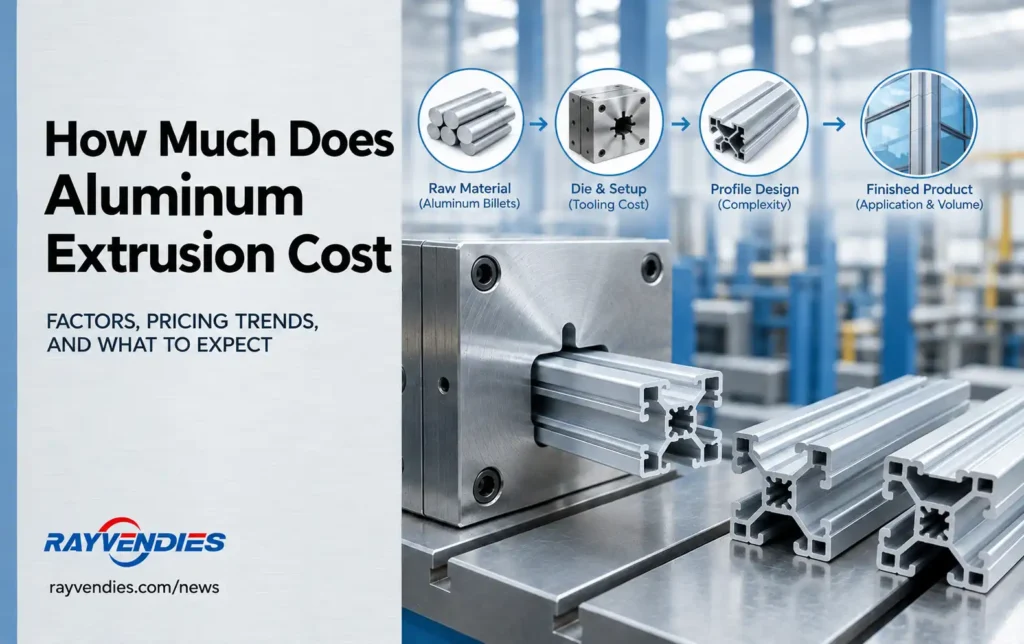
Most projects never use a full stock length. A machine frame, a workbench, an enclosure, a rail support—each one starts as a cut list. Extruded aluminum ships long, and once you start cutting, you set the standard for everything that follows. A first cut that runs out of square doesn’t stay in its own corner. It shows up later as a frame that rocks, a corner bracket that gaps, or a panel that won’t sit flat.
The cleanest way to cut aluminum extrusion is with a fine-tooth carbide blade made for non-ferrous metal, feeding slowly and evenly, with the profile clamped and supported on both sides of the cut. For most people that means a miter saw. A bandsaw or cold saw handles higher volume better, and a hacksaw with a miter box works for one-offs if you take your time. Skip the angle grinder unless you have no alternative, and deburr every cut before it goes near an assembly.
What trips people up isn’t the sawing. It’s how differently a hollow, thin-walled profile behaves under a blade compared with a solid bar.
What you are really cutting when you cut an aluminum profile
An extrusion isn’t a solid billet of metal. It’s a repeating cross-section with thin webs, hollow voids, open slots, and a surface layer of oxide, and your blade meets all of them at the same time.
That shape has a reason behind it. In the aluminum extrusion process, a heated billet is pushed through a shaped die, so whatever cross-section that die carries is repeated along the whole length of the profile (Aluminum Extruders Council). After leaving the press, the profile is quenched, stretched, and aged, and only later is it fabricated—cut, drilled, bent, welded, and assembled. Every cut you make exposes that cross-section, which is why “how do I cut it” and “what am I cutting through” are the same question.
Why thin walls and hollow sections behave badly
Thin webs flex. Push a blade into a 1.5 mm wall, and the wall moves away instead of shearing, then springs back and rubs the blade plate. That’s where chatter marks and curled burrs come from.
Hollow sections introduce two more problems. The first is structural: squeeze the profile the wrong way in a clamp and the cavity deforms. The second comes at the end of the cut, when the last web separates and the offcut drops away under its own weight, tearing a ragged edge behind it. Support the piece you’re cutting off, not just the piece you’re keeping.
Interrupted cuts and the burrs that follow
A T-slot profile gives the blade an interrupted path. It enters the outer wall, crosses the gap, hits the slot, exits into air, and then re-enters the wall. Each entry and exit is a new chance to raise a burr, and the burrs tend to form right at the slot mouth where connectors are supposed to seat. This is why T-slot offcuts feel sharp in a way that square tubes do not.
The alloy underneath the blade
Most modular framing profiles and architectural shapes are made from a 6xxx-series alloy, commonly 6063, while structural work sometimes calls for 6061. Both are soft compared with steel. Aluminum tends to smear rather than chip cleanly, and it can weld to the tooth tips of a dull blade—the built-up edge that turns a smooth cut into a tearing one. That behavior drives nearly every rule below: sharp blades, lots of teeth, blade geometry meant for non-ferrous metal, and some form of lubrication to keep the chips clearing.
Which tool cuts aluminum extrusion best?
For the majority of users, it’s a miter saw fitted with a carbide-tipped blade rated for non-ferrous metals. It gives you accurate, repeatable ninety-degree cuts without much setup. Everything else is a trade-off between speed, accuracy, and convenience.
| Tool | Where it fits | Blade or consumable | Cut quality | Notes |
|---|---|---|---|---|
| Miter saw | Most jobs, small to medium profiles | Carbide-tipped, high tooth count, non-ferrous grind | Clean and square once set up | Needs a dedicated blade; don’t use a wood blade. |
| Cold saw | Repetition work, thicker sections | Toothed metal-cutting blade, liquid coolant | Very clean, little burr | Higher machine cost, common in fabrication shops |
| Bandsaw | Bundles, long pieces, odd angles | Bi-metal blade, coarse pitch for aluminum | Good, slightly rougher face | Quiet, slow feed, good for multiples stacked |
| Hacksaw with miter box | One-offs, site work, no power | Fine-tooth bi-metal blade, 24–32 TPI | Fair to good with care | Slow; accuracy depends on the guide, not the person. |
| Jigsaw | Thin-walled profiles only, curved cuts | Fine-tooth metal blade | Rough edges, lots of deburring | Hard to keep square; blade wanders easily. |
| Angle grinder | Almost never | Abrasive cut-off wheel | Poor | Safety and accuracy problems; see below. |
Miter saw with a non-ferrous carbide blade
Buy a blade designed for aluminum and keep it for aluminum. These blades typically use a negative or near-zero hook angle so they scrape rather than grab and a high tooth count so several teeth are always in the material. A wood blade with an aggressive positive hook can climb into the profile and throw it, which is how the horror stories start.
Set the saw up so the offcut has somewhere to go. Support long pieces at both ends at the same height, add a sacrificial wooden fence if your own fence is slotted, and keep the table free of chips. Never hold the profile by hand against the fence.
Bandsaw and cold saw for repeat work
A bandsaw is quieter than anything else on this list and cuts several profiles stacked together, which makes it useful when you need forty identical pieces. Keep it simple: correct blade pitch for the thickness, correct tension, slow feed, and no forcing.
A cold saw is what a fabrication shop reaches for when finish matters. It feeds slowly, uses flood coolant or mist, and leaves an edge that often needs nothing more than a wipe. It’s overkill for one frame and hard to justify if you build a couple of projects a year.
Where the angle grinder fits
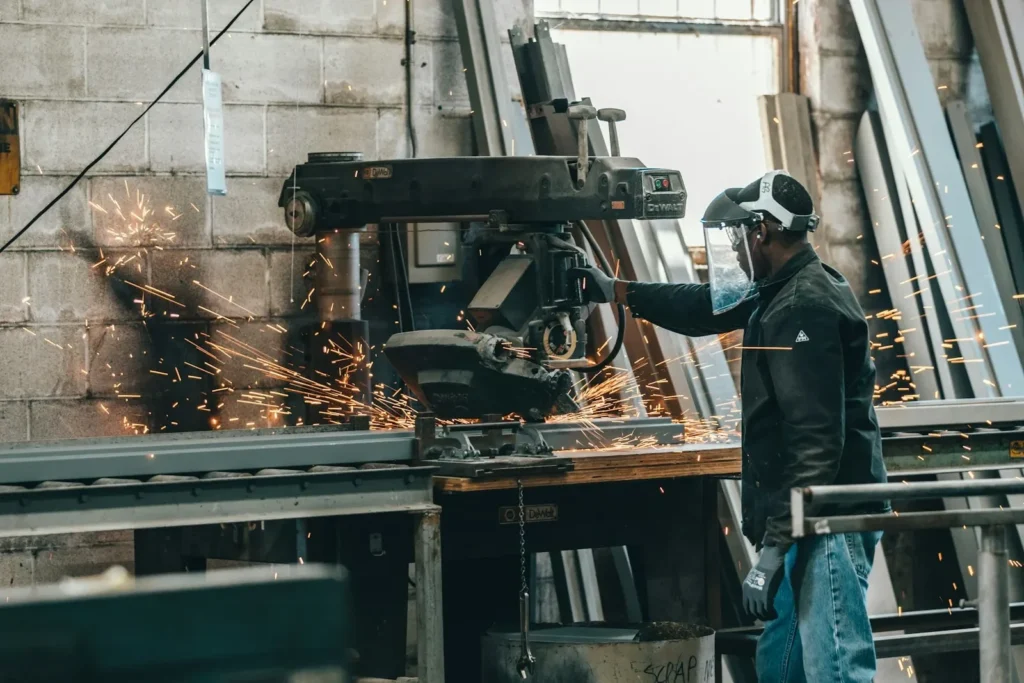
Last, and honestly, mostly off the list. Soft aluminum loads up the pores of an abrasive cut-off wheel, which both overheats the wheel and makes it more likely to break. You also get no accuracy, a shower of hot sharp debris, and a heavy burr to clean up afterward. If it’s genuinely the only tool available, use a wheel rated for metal, keep the guard in place, clamp the work rather than holding it, and accept that the end will need filing.
How to cut aluminum extrusion with a miter saw
Mount the correct blade, support and clamp the profile, mark the line, bring the blade to full speed, then feed slowly and let it finish before lifting. Most mistakes happen before the blade ever touches metal.
Blade choice and setup
Check three things before the first cut. The blade must be a non-ferrous carbide blade, it must be sharp, and it must be tight and running true. Check the blade against the fence with a square at more than one point, because a fence that’s been knocked sideways once is a reason every subsequent piece is off.
Protect the surface you paid for. Soft jaws, a wood shim between clamp and profile, or a strip of scrap board on top keeps clamp teeth from leaving witness marks.
Step by step
- Measure twice and mark with a scribe or fine pencil, using a combination square so the line wraps around the faces you can see.
- Decide which side is waste and mark it. The kerf is real material, and you want it coming off the scrap side.
- Support the length on both sides at equal height so the piece doesn’t sag into the blade.
- Clamp close to the cut, over a thick part of the cross-section where possible, with a protective shim.
- Lower the unplugged blade and sight it against your line. Some people line up the longest tooth with the line on the waste side; either way, do it before the saw is spinning.
- Apply a little cutting wax or lubricant to the teeth. This reduces heat and helps chips clear.
- Start the saw, let it reach full speed, then lower it in one steady motion. Let the blade do the work. Forcing it makes burrs, not speed.
- Keep the head down until the blade stops, then lift.
- Unclamp, check the length, then deburr.
Repeat cuts at one length.
If the job needs twenty pieces of the same length, stop measuring each one. Fit a stop block clamped to the bench or fence, and let the block define the length. Check the first and every fifth piece against your original, because chips creeping under the stop or the profile will lengthen the parts without any visible warning. Batch identical cuts together so you set the saw up once rather than ten times.
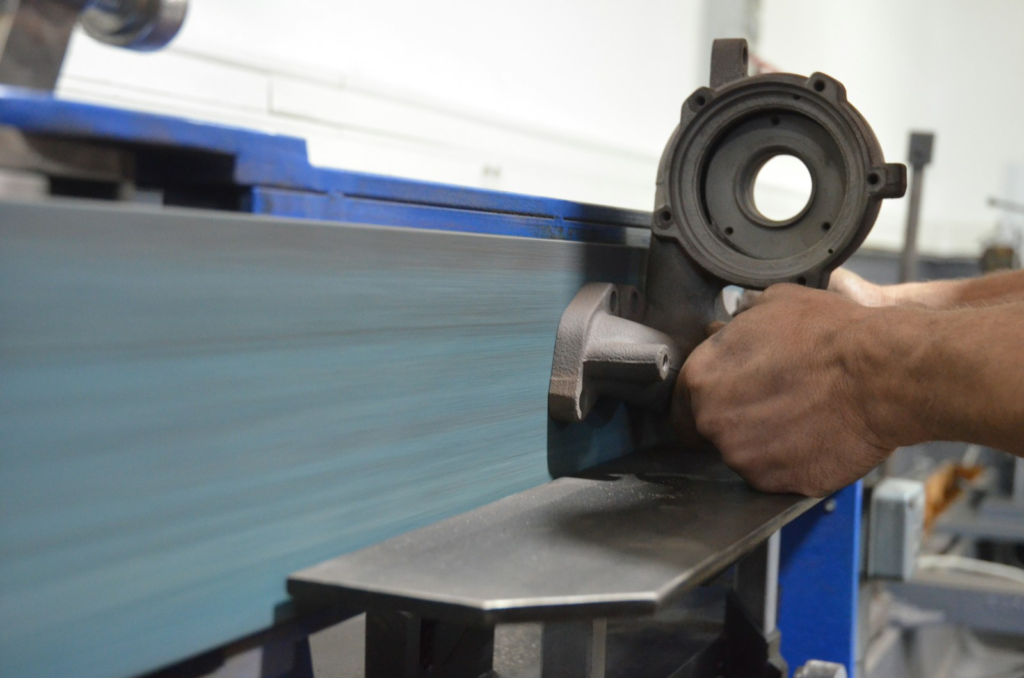
How to cut aluminum extrusion by hand
Yes, and for one or two pieces the result can be square enough to use—provided the saw is guided. A hacksaw freehand rarely stays square; a hacksaw in a miter box or against a clamped guide block usually does.
Hacksaw plus miter box or guide block
Use a fine-tooth bimetal blade, somewhere in the 24–32 TPI range, installed so the teeth point away from the handle. Mark all visible faces so you can see drift from either side.
Start the cut properly. Score the line with the blade pulling backward a few strokes, or with a scribe, so there’s a shallow groove for the teeth to sit in. Without that groove, the blade skates and chews up the anodizing beside the line. Then saw with long, even strokes using the full blade, pressing lightly on the push stroke and easing off on the return. A drop of cutting oil or a wipe of wax keeps the chips moving out of the gullets.
As the cut nears the bottom, support the offcut so it doesn’t drop. The last millimeter or two is where most hand-cut edges get torn.
Keeping a hand-cut square
Three habits carry most of the accuracy:
- Keep the blade square to the workpiece, not square to your idea of square. Check yourself every ten strokes with a small square.
- Aim slightly long. Cutting a half millimeter proud and dressing the face with a file gets a better end than trying to land exactly on the line.
- Let the guide do the steering. A cheap miter box, or even two scrap blocks clamped either side of the line, will beat a careful eye.
Cutting at home or on site
Working from a garage bench is mostly about clamping. Anything that lets the profile twist will twist, so use a vise with soft jaws or clamp the work to something heavy. The mess is the other issue: chips go everywhere, they’re sharp, and standard dust collection isn’t built for them. Lay down a sheet or improvise a cardboard shield around the saw, then vacuum or brush up afterward. Don’t clear chips with compressed air, which turns them into projectiles and pushes fine dust into places you don’t want conductive debris. Aluminum chips conduct electricity, and they end up inside equipment more easily than people expect.
How to cut an aluminum extrusion square
Squareness is a setup problem, not a cutting problem. A squared saw, a clean table, solid contact against the fence, rigid clamping, and real support for the length—those five things account for nearly all of it.
| Symptom | Likely cause | What to fix |
|---|---|---|
| Ends don’t meet at ninety degrees. | The blade is not square to the fence, or the profile is not flat on the fence | Re-square the blade to the fence and check with a scrap test cut. |
| One face shorter than the opposite face | Blade deflection from fast feed or a dull blade | Slow the feed, and replace or sharpen the blade. |
| Pieces vary in length within a batch. | Measuring each piece separately, or chips under the stop | Use a stop block and clear chips between cuts. |
| Chatter marks across the cut face | Clamp too far from the blade, or unsupported length | Move clamps closer and support the offcut end. |
| Cut drifts off-line on hand cuts. | No guide and uneven strokes | Use a miter box or clamp a guide block alongside the line. |
| Saw marks at every slot mouth | Interrupted cut through T-slots | Feed slower and plan to deburr slot edges every time. |
Square the saw before you trust it.
Put a reliable square against the fence and the blade plate at two or three places across its diameter. Then cut a piece of scrap and check the result, not just the setup—a single chip sitting on the table or under the profile is enough to tilt a cut, and it will tilt it consistently until you clear it.
Cut long, then trim.
Leave a small amount of material and finish the end afterward. A flat file, a deburring tool, or a fine abrasive wrapped around a block will bring a profile down to length while keeping the face flat. It works because files don’t deflect the way blades do, and because you can check progress with a square as you go.
Stop blocks and length jigs for batches
For large numbers of identical parts, a jig pays for itself quickly. A simple length stop clamped to the fence is enough for most work; a shop-built jig with a fixed stop and a hold-down is enough for anything short of production volume. If your parts have to be interchangeable, build the jig before you cut the first piece rather than after the third one is wrong.
Cutting 2020 and 4040 aluminum extrusion
The method doesn’t change with size, but the handling does. Small profiles need to be held firmly and close to the blade; large profiles need real support along their length and a slower feed rate.
How to cut 2020 aluminum extrusion
A 20 mm profile is easy to clamp badly. Its walls are light, so a clamp placed across an open span can flex the section and change the cut line as the blade enters. Keep the hold-down close to the kerf and over the thickest part of the cross-section you can find, ideally with a backing block behind the profile to reduce breakout at the exit.
Because the pieces are small, they’re also easy to let go. Support the offcut. It weighs little, moves fast, and takes a chunk of the lower wall with it if allowed to fall.
How to cut 4040 aluminum extrusion
More cross-section means more material removed per stroke, more heat in the blade, and more chance of the blade pinching as the webs separate. Support both ends, keep the feed slower than you used on the smaller profile, and ease the pressure in the last few millimeters rather than pushing through.
Long lengths of a heavy profile will sag between supports, and sag changes the angle of the cut. If the piece overhangs more than a short distance, put a roller stand or a block under the free end so everything stays flat against the table.
Clamping hollow and thin-wall profiles without crushing them
A few habits help here. Clamp over thick webs instead of across open cavities. Where you can’t avoid spanning a void, slide a snug wood insert or filler block inside the profile so the clamp load is carried by something solid. Use soft jaws or a shim to spread the pressure, and tighten only as much as needed to stop movement—more than that and you start squeezing the profile out of square before the saw even starts.
Deburring, cleanup, and mistakes worth avoiding
File the edges, clear the slots, and vacuum the chips. It takes a minute per part, and it’s why some assemblies go together smoothly while others fight you at every joint.
Deburring tools and keeping the slots clean
A flat mill file works; so does a dedicated deburring tool, a fine abrasive pad, or the suit and paper on a flat block. Whatever you use, give attention to slot mouths and the inside edges of the cut, because burrs there stop connectors and brackets from seating fully. Run your finger lightly along the outside only—never along a fresh cut face—to check that the edge is broken.
Cleaning up safely
Aluminum chips are sharp, small, and conductive. Vacuum them rather than blowing them off, clean the saw table between cuts, and clear them out of any profile cavity before the part goes into an assembly. Chips left inside a frame rail have a habit of working loose later, usually inside something electrical.
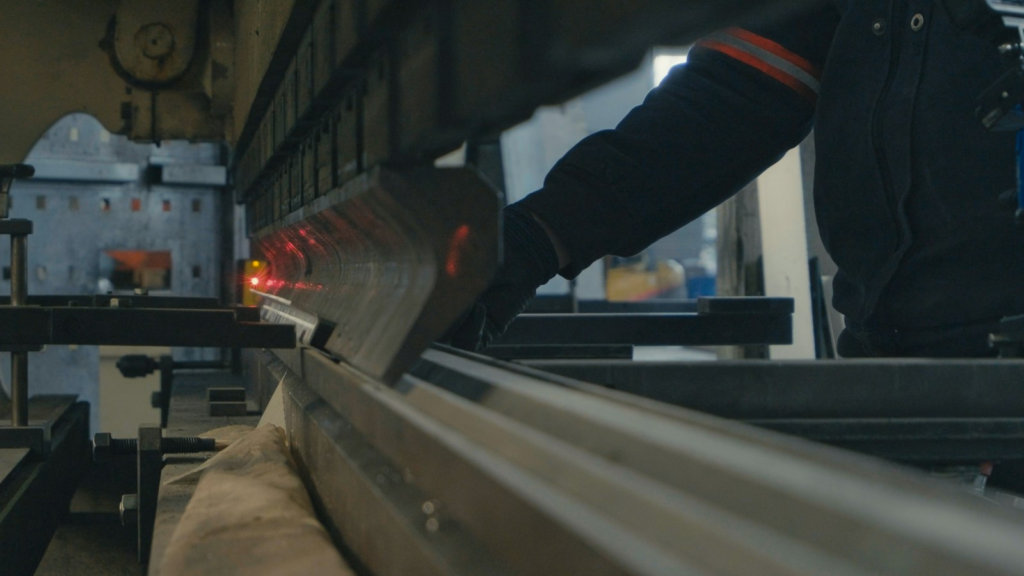
Cutting it yourself versus ordering profiles cut to length
Do it yourself when the piece count is low and the tolerance is forgiving. Order cut to length when you need many identical parts, consistent dimensions, or clean square ends without buying a blade and building a setup.
| Situation | Practical choice | Why |
|---|---|---|
| One frame, a few profiles | Cut it yourself, or with a hacksaw. | Setup would take longer than the cutting. |
| Twenty identical pieces | Stop block and a good blade | The same saw setup gives consistent results. |
| Ongoing production of one assembly | Order cut to length | Removes the cutting step and its variance entirely |
| Tight length tolerance across parts | Have the supplier cut it. | Shop saws hold repeatability better than a stop block. |
| Finished or coated profiles | Order cut to length | Less handling means less surface damage. |
Where the cost actually goes
The aluminum extrusion price is only one line item. When deciding whether to invest in cutting equipment, the real drivers are blade wear, scrap from miscut pieces, your own labor time per part, rework when something doesn’t fit, and the packaging or handling that protects finished faces. A $ profile is cheap compared with a frame you have to rebuild, and most projects hit their cost problems in labor and scrap, not raw material.
What to specify when you order cut to length
Tell them more than just a number. Useful details include the target length and acceptable tolerance, whether ends must be square to the profile axis, whether edges need deburring, how the parts should be bundled or separated to protect the finish, and whether pieces need labeling per assembly. It also helps to say what the parts are for: the same 2020 or 4040 profile ends up in very different aluminum extrusion applications, and packaging that suits one often damages another.
FAQ
Can you cut aluminum extrusion with an angle grinder?
You can physically do it, and most experienced fabricators will tell you not to. Abrasive wheels load up with soft aluminum, which overheats the wheel and raises the risk of it breaking. Accuracy is poor, the burr is heavy, and the debris stream is hot and sharp. Use it only where nothing else fits the job, keep the guard on, clamp the work, and plan to clean up the end afterward. A hacksaw is slower and much safer.
Does cutting aluminum extrusion ruin the anodized or powder-coated finish?
The coating is only on the surfaces that existed before the cut, so the freshly exposed face will be bare metal. That face sits mostly hidden in a joint, and aluminum still forms its own protective oxide layer, so rust isn’t the issue. On visible edges, dress the cut and touch up later, or plan the design so cut faces land against a bracket or end cap.
How do you cut aluminum extrusion at 45 degrees for corner joints?
The same principle as a square cut, with two changes. First, check the saw is actually indexing at forty-five degrees rather than trusting the detent. Second, thin 45-degree ends are fragile at the tip, so support the offcut carefully and don’t rush the last few millimeters, which is exactly where the points tend to tear off. Test the angle on scrap before cutting the parts you care about.
Does the blade need to be changed for aluminum extrusion?
Yes. A blade ground for wood has a steep positive hook that tries to climb into soft metal, which grabs the profile and can throw it. Blades for non-ferrous metals use a flat or negative hook and many more teeth, so the cut stays controlled. Mark the blade or keep it in its own case so it doesn’t quietly end up back on wood duty.